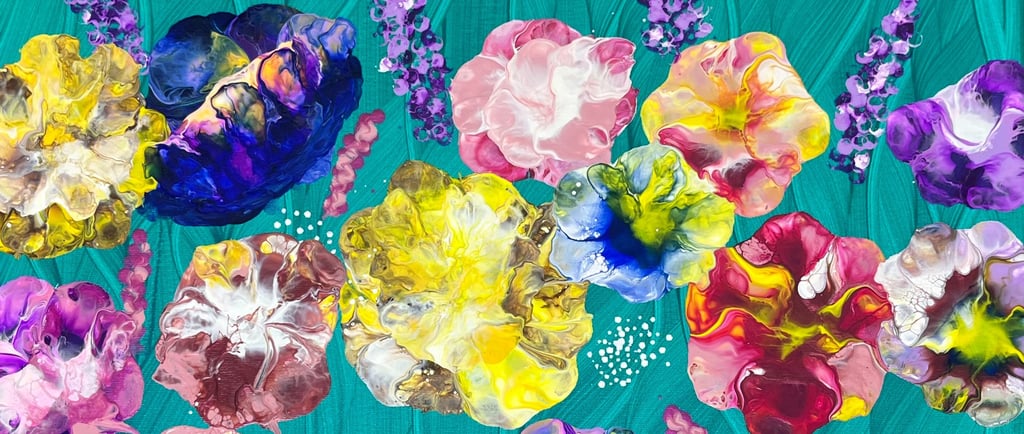
Spring Flowers Tutorial
Free tutorial for creating this beautiful field of spring flowers using several fluid art techniques.
Supply List:
Many of these supplies do have a direct link in them to order if you want. I do make a small commission if you do so. The paints and canvas I purchased directly at Hobby Lobby.
16 x 20 canvas (you can certainly choose another size, this is just what I used.)
Push Pins to raise the canvas off the surface
Straw
Q-tips
Toothpicks
Paper Towels
One Paper Plate
Protection Under Your Painting Area
This is what I have-you'll need at least 2
Paints I used:
I used the Master's Touch pre-mixed pouring paints. Every other week, Hobby Lobby has their art supplies on sale at 40% off. I will also link a nice kit you can purchase with many similar colors from amazon.
White
Enchanted Forest
Pearlized Green
Iridescent Fluorescent Green
Sapphire
Light Pink (this was a pre-mixed Color I made)
Powerful Pink
Pearlized Hot Pink
Lilac Petals
Amethyst
Pearlized Red
Golden Sunlight
Sunshine
Now that we have our supplies. Get yourself set up with all your supplies at hand so you are ready to begin following the 6-step process.
Cover your work surface.
Set up your canvas with the push pins
Have your paints set off to one side but at easy access.
Put your brushes, qtips, toothpicks and straw on the other side.
Have several paper towels or a roll of them accessible too!
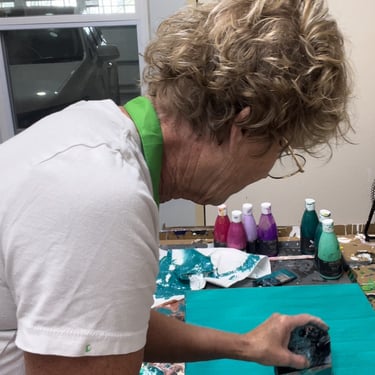
Step One:
Pour the three shades of green onto the canvas. I added these in a diagonal pattern across the canvas. I should add, I have the canvas set up for a landscape (horizontal) painting. Also, as I continued with the process as you'll see in the video, this was way too much paint. Just keep that in mind as you begin pouring paint.
Step Two:
Now grab your 4" brush to begin spreading the paint onto the canvas. Don't worry about design just yet, we just want the paint covering the canvas. Make sure you don't forget your sides!
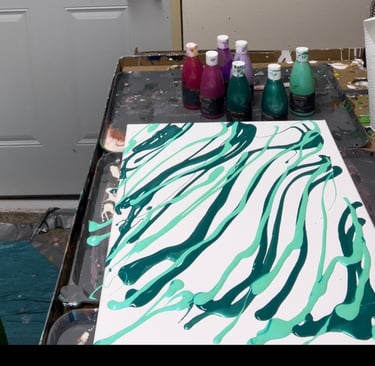
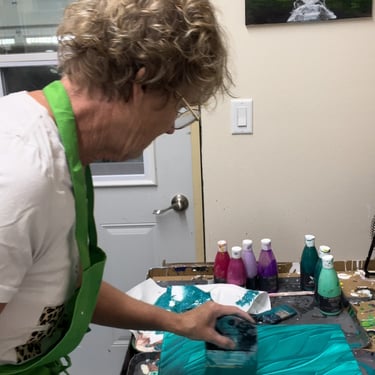
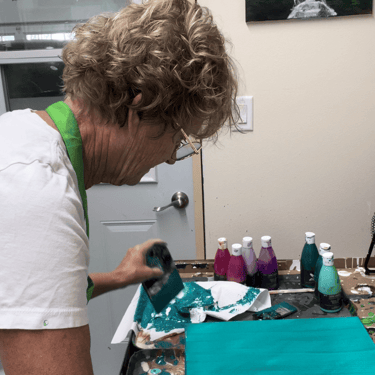
Step Three:
Begin making your design. It is important to have some paper towels set on the side of your painting that you can use to wipe your brush on as you do this step. This will just help get rid of any excess paint that we have on the canvas.
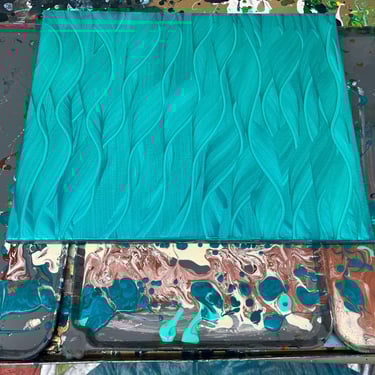
I ran my brush from bottom to top. You hold the brush so that the bristles are straight up off the canvas, perpendicular to the canvas. I'll attach a picture. By doing so, this creates a beautiful "ribbon" on your canvas. I think it looks like stems or large leaves that will be outstanding behind our flowers! Work these strokes across the canvas from one side to the other. Making sure to wipe off the excess paint on those paper towels between strokes. Work this until you get the design like I have below. If you pull too much paint off, you can always add more.
Tip: I find in working with fluid art, less is always better is the rule to follow. Meaning, the more you work a particular technique or area, the worse it can get. Most times, less is absolutely best.
Step Four:
Next we are going to create "puddles" on the canvas that we'll use our straw to blow out to make flowers.
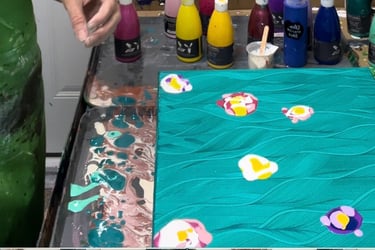
For this step, think about where you want to place your flowers. I encourage you to make larger "puddles" and smaller "puddles". I started by pouring about 6 of these puddles. I then blew them out before adding anymore. This will help you with your overall design.
To create the "puddles":
Use about 3 or 4 colors per puddle. You are actually creating circles with your paint. So the center will be yellow or white, followed by the rest of the colors. Let your creativity go wild on this step, thinking about your favorite flowers and how they look. As you can see by the picture below, the paint will run together and this is ok!
Make a dot with your center color
Add a circle around it with a color
Add another circle around with another color
Add one more color if you want.
Step Five:
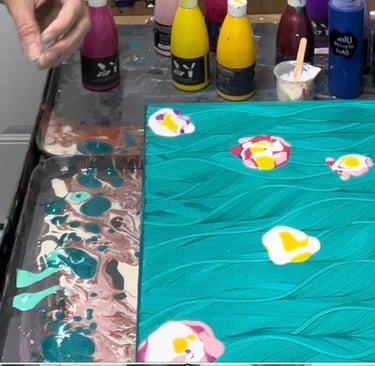
Blow out your puddles. You will use your straw to lightly blow, beginning in the center of your puddle and blowing outward. I typically repeat this 4 times around the puddle. But think about the flower, and how many petals it has. You can also blow it out, then add more paint to add more depth to the petals and blow out over top of what you just did. If you choose to do this part, I would allow about and hour for the first paints to set up a little.
Tip: First off, this is a very light blow. If you blow too hard, you will have your paint splattered on your canvas. It's easier to start off too light!! Also, as I stated above, don't overwork this part. It will dry differently than it looks wet. You will get more depth and hopefully you will have cells develop! Remember, you can always add more to it after it's dried a bit like I did above!
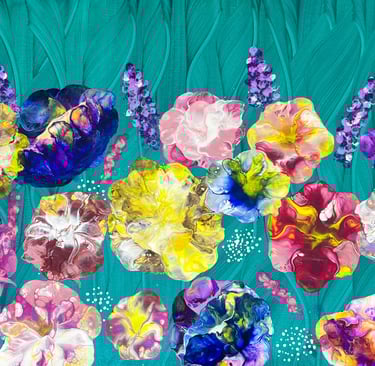
Keep repeating this process of creating puddles and blowing out until you have the desired design you want on your canvas.
Step Six:
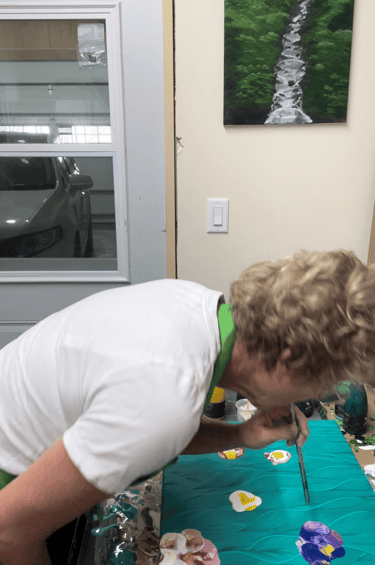
Next let's add in some more fun little flowers! I did three different styles here. First, let's grab a paper plate and place a small amount of dark purple, light purple, dark pink, light pink and white on the plate. You'll also being using your straw, the q-tips and toothpicks for this part.
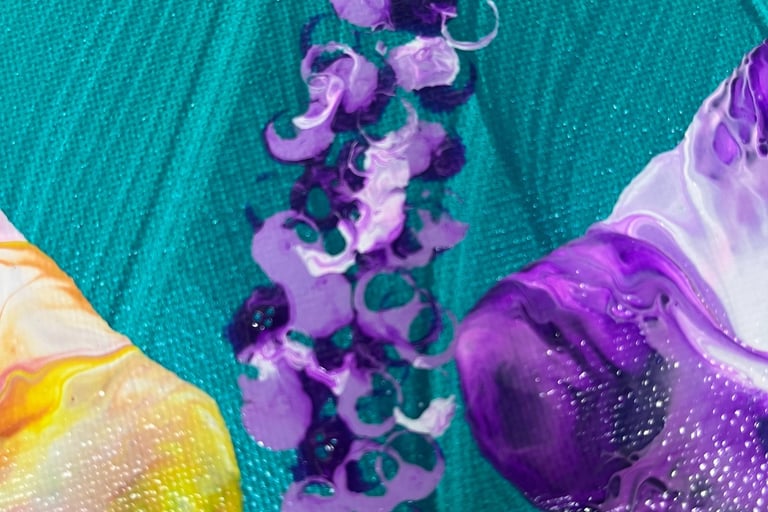
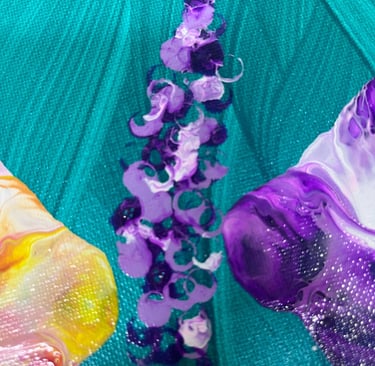
First lets dab the end of our straw into the dark purple and begin making several cone-shaped flowers. Like a hyacinth. You'll just dab the end of the straw in the paint and then dab it onto the canvas. Repeat this step with the light purple and lastly the white as well. Create as many of these as you want in your flower field.
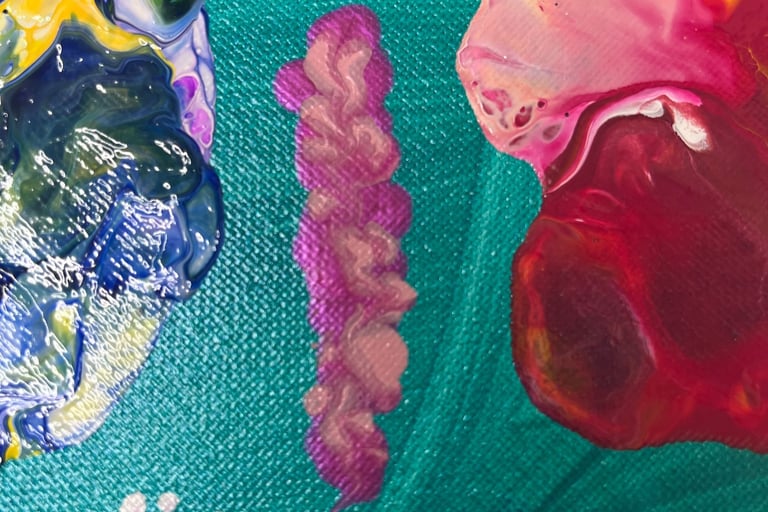
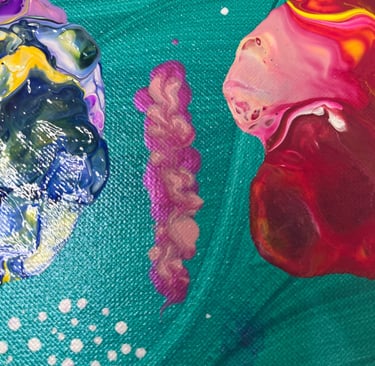
I also added some pink stemmed flowers by using a q-tip to add a row of dark and light pinks. Then I used a toothpick to drag through those paint colors and create a nice liatris. You start at the top of your dots, then zig-zag to the bottom. Repeat with as many of these as you like.
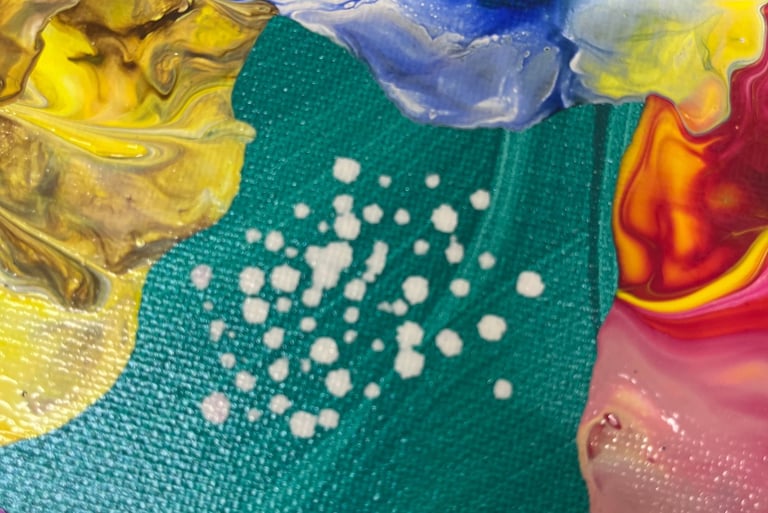
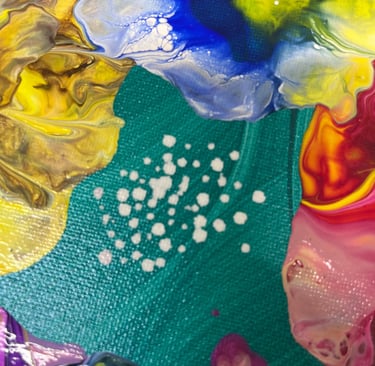
Lastly, I used the ends of the toothpick to create clusters of white dots for a pop of color and something resembling maybe baby's breath or allium. Again, make as many of these as you like in your field.
I'm including a video showing the details and additional tips of all the above steps. I do hope you will share in the comments a picture of your creation and let me know how you liked this tutorial!!
Happy Painting!
Aimee Carlson

Subscribe and get instant savings!
I invite you to immerse yourself in the stories that bring my original pieces to life. As a token of appreciation, I am delighted to offer you an exclusive instant savings code. Unlock the opportunity to own a piece of my artistic vision while enjoying a special discount.